Caulking Guidelines for Novices
Caulking 101: Tips To Help You Get Started
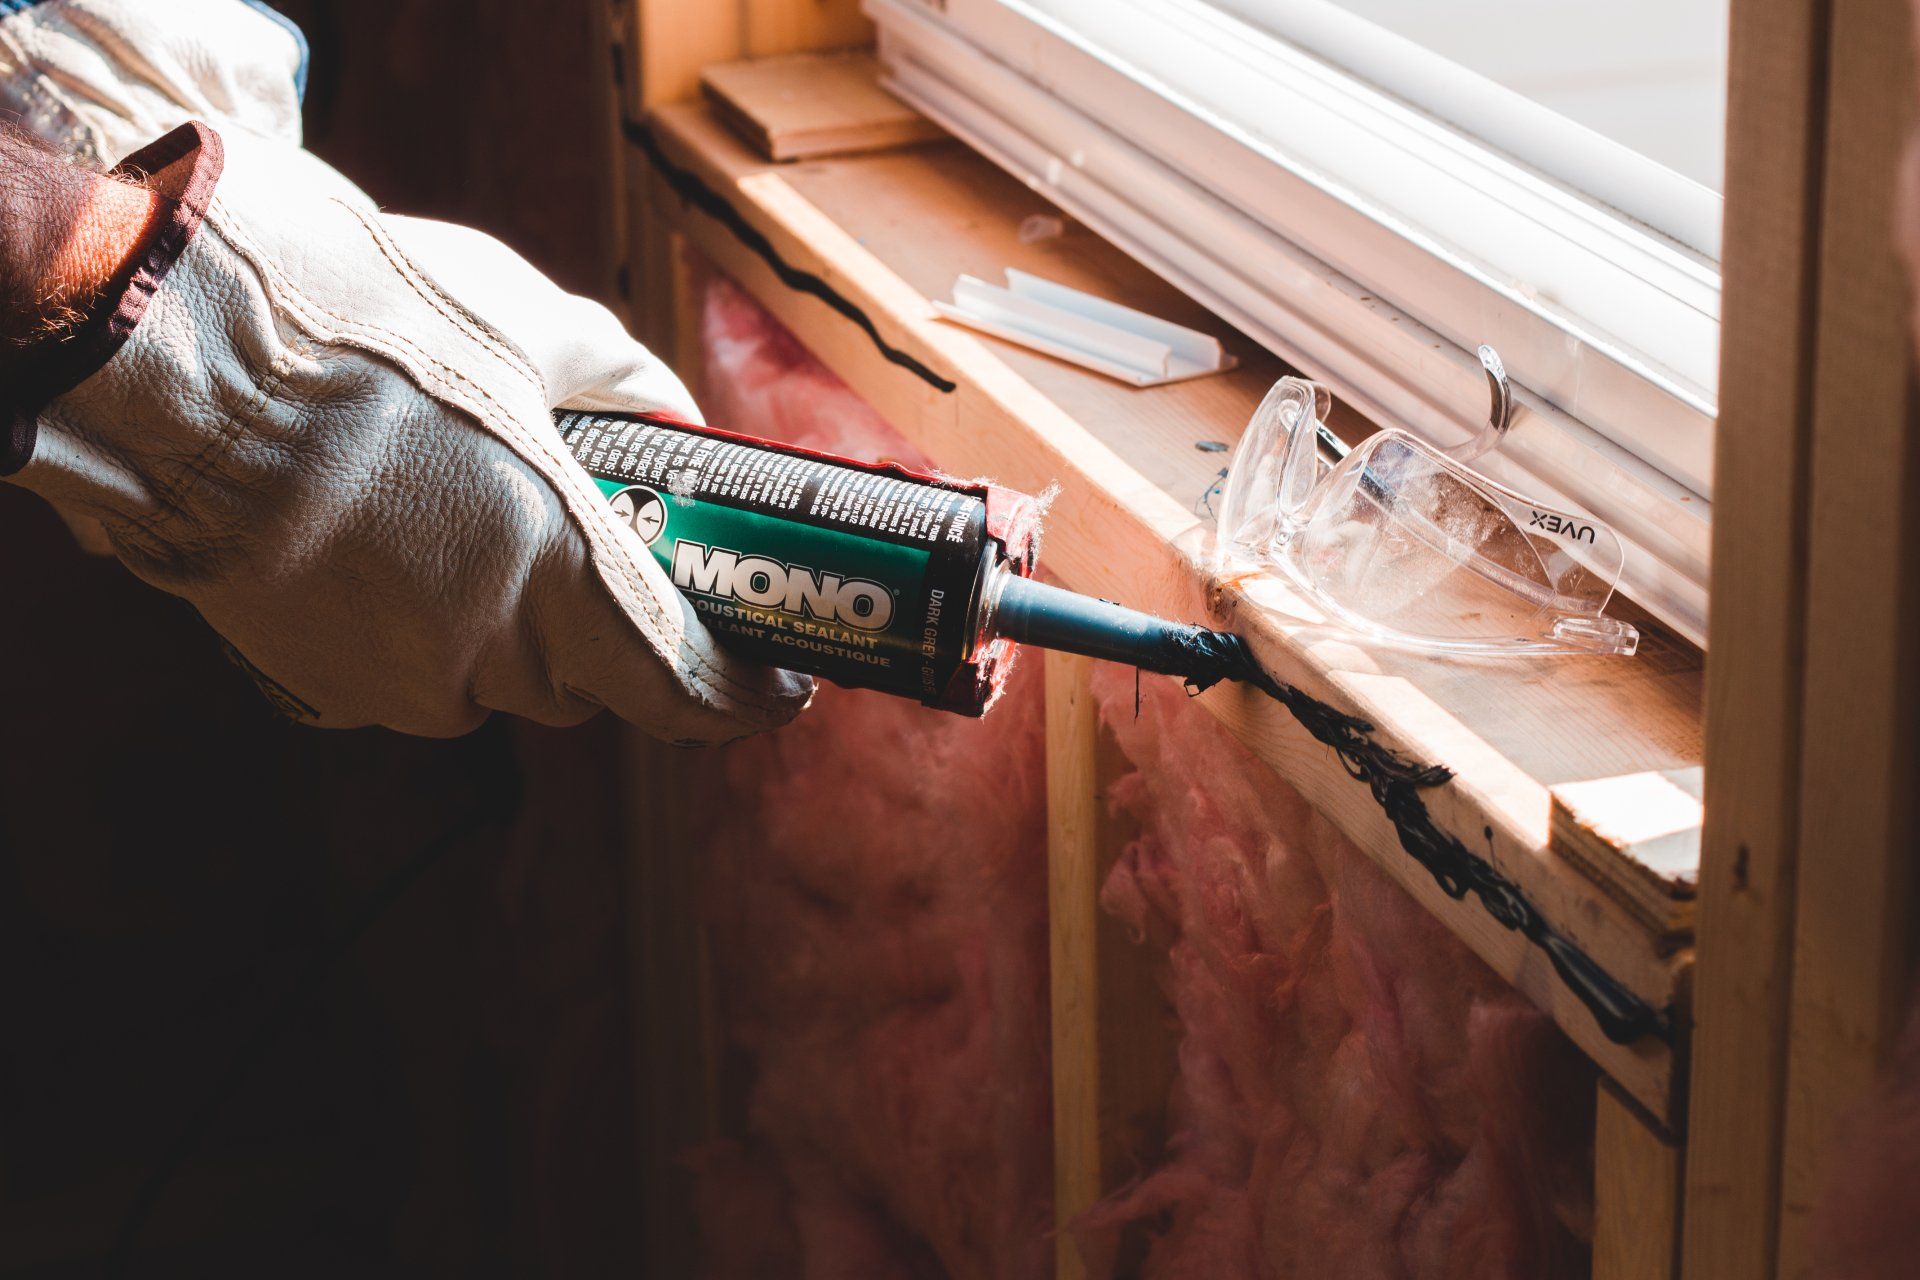
Caulk. You'll enjoy the final, polished look you produce when you employ these caulking suggestions, even if it can be frightening and takes some time.
Caulking can be the last thing on your mind after spending days or hours repairing baseboards, windows, or trim, but it really transforms the look of your room. Caulking transitions makes them appear seamless, giving the room a polished appearance.
Look at the base trim in the picture above to understand what I mean. When we caulked the remainder of the house, we overlooked a small area on the end of one wall. Can you see how it appears incomplete and as though something is still pending?
Caulk: Correct the name
Just a quick bit of backstory before we get started. Plumbers use a very odoriferous, non-water-soluble substance called "silicone" around sinks and bathtubs. It is typically transparent and designed to provide a watertight seal. You cannot paint over it because doing so would cause the paint to bead and look awful. It dries but remains rubbery and pliable, which is excellent for preventing water from getting into regions that frequently expand and contract with heat and cold (like a shower).
Although the terms are frequently used interchangeably, caulk is a separate product. Caulk dries more quickly, and many varieties can be painted. It is intended to cover seams in your craftsmanship.
Types of Caulk
There are a hundred various kinds of silicone and caulk materials available. Select the one that most closely fits your project. To complete our tiling projects, we use grout silicone (included in the tiling area), and we use clear silicone to seal around countertops and drywall. They all use the same method; they just respond in somewhat different ways.
Caulking Tips for a Perfect Finish
Start at a less noticeable area.
Always want to start in a less obvious area of the room, like behind a door or in a closet.
Before painting, caulk.
When you have multiple levels of trim that will all be painted the same color, caulk before painting. Painting over the caulk helps to lessen part of its stickiness, which makes it easier to clean because caulk needs to remain flexible.
Use of tape.
Up until you feel comfortable using a caulking gun, taping is a terrific idea. Tape the baseboard and the wall, leaving a tiny opening so that the caulk can fit into the seam. Smooth it out as shown in the video, and then pull the tape back to reveal a clean, sharp line. Because it takes a lot of time, I stopped recording after the second bedroom in our house. But using tape will help you get a clean straight line if you're only working on one room or perhaps just one window. In places that are clearly visible, this is beneficial.
Caulking Gun.
Your caulking gun will significantly impact how you work, particularly if you are finishing a large area.
Smooth Finish.
Apply silicone and caulk with my finger and a soft, damp rag. It does murder your fingers, so I understand if you're not into that. Instead of using your finger, a caulking applicator can be utilized to get a beautiful corner. Simply move it along by dragging it with your finger or rag.
Time.
When applied in a beautiful, thin line, the caulk takes two hours to dry. A bit deeper or wider fillings will take longer to dry. Prior to painting, make sure your silicone is totally dry to prevent it from pulling up.
Pull or Push.
Although most of us will find it easier to pull or drag the caulking gun down the baseboard while using the tip to smooth it as we go, professional painters will push the caulking gun along the baseboard. Decide what works for you and stick with it.

