How To Fill Screw or Nail Holes in Drywall
Learn How to Fill in Screw or Nail Holes in Drywall
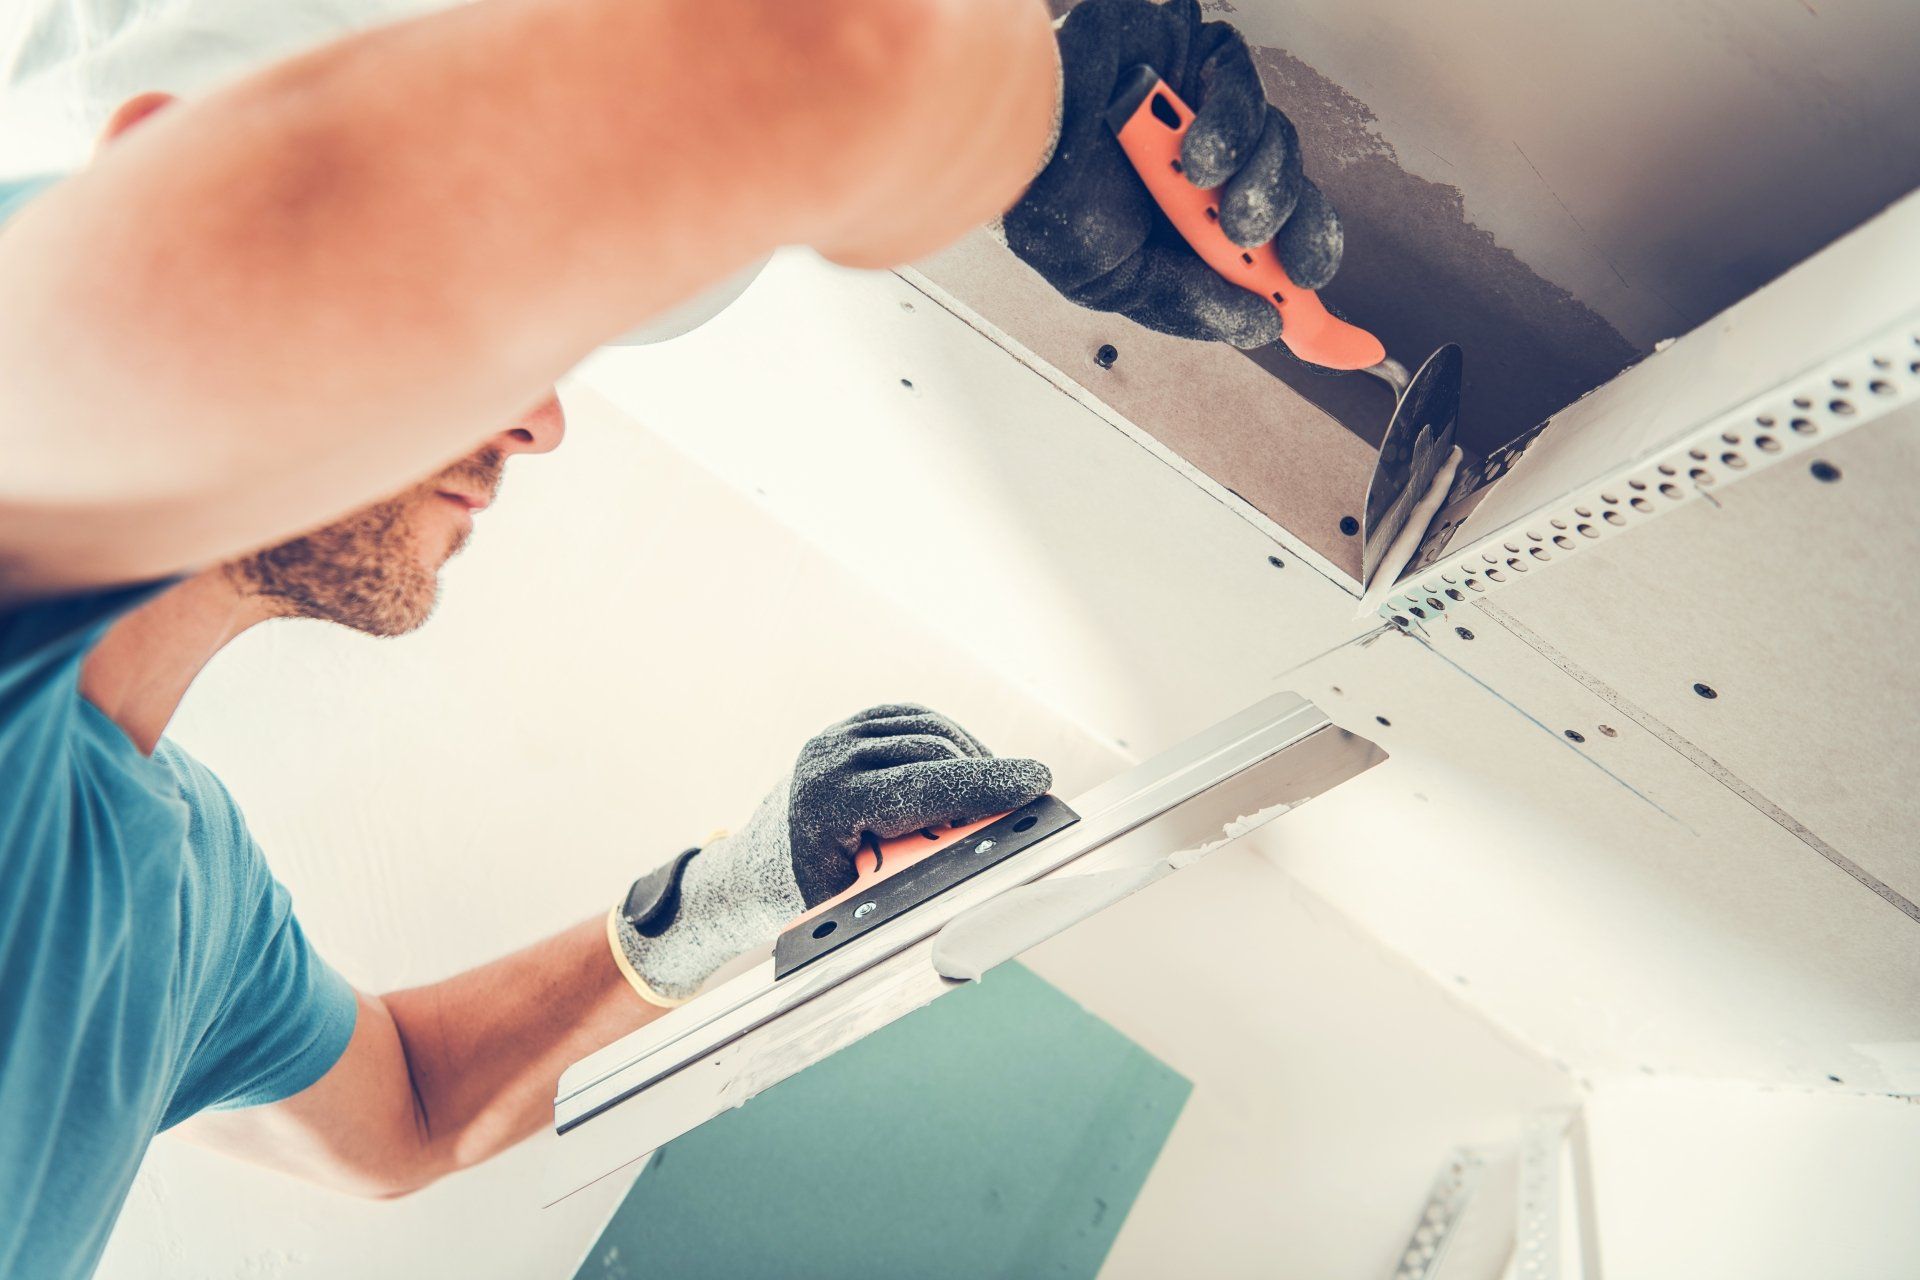
There are two types of holes in drywall: depressions caused by drywall screws or nails (divots), which happen when drywall is first fastened to the studs, and genuine holes, which happen when wall anchors, screws, or nails are used to fasten cabinets or wall hangings.
Ideally, during installation, the drywall screws or nails should penetrate the paper without breaking it, just below the surface. Before painting the wall, a small divot is left that needs to be filled. When wall anchors or screws are used to secure shelves, cabinets, or artwork to finished walls, holes may develop; when these screws are removed, you are left with holes that extend through the drywall panels. Any regular drywall joint compound can be used to quickly and easily patch either kind of hole. Of all the DIY home repairs, it is one of the simplest.
Prior to Starting
Although there are many various kinds of drywall joint compound, a small container of premixed all-purpose joint compound is the ideal option for this kind of simple repair. Compared to a powdered ingredient that needs to be mixed with water, this product is significantly simpler to use.
One coat of joint compound can frequently be used to satisfactorily cover very small holes, such as those left by finish nails, but if the holes are larger than this, there will be enough shrinking of the compound as it dries that you will need to use a second coat.
You can use a similar substance, commonly referred to as spackle, on extremely small holes. The same gypsum basis is used to make joint compound and spackle. Spackle dries quicker than joint compound because it is lighter in weight and has more air in it. However, it is not advised for larger holes.
What You'll Need:
Equipment / Tools
- drywall knife or a 4-inch putty knife
- Useful knife
- Screwdriver
- tape dispenser tray (optional)
Materials
- drywall joint compound for all purposes (premixed)
- Paper towels
- sanding sponges or fine-grit paper
Examine and cut the face paper.
Before applying joint compound to patch any holes in drywall, any face paper that puckers outward needs to be cut. These sections require concave holes in order to be smoothly coated; you cannot simply smear joint compound over them. This typically happens when wall anchors or screws are removed, but it can also happen when drywall screws are installed too deeply, fracturing the paper and causing it to pucker outward.
By pressing on them with the handle of a screwdriver or drywall taping knife, little extrusions in the face paper can occasionally be driven inward. If that doesn't work, cut through the paper covering the pucker with a utility knife, then peel away enough gypsum to make the hole completely concave to the wall surface. You can check if there are still any external puckers by lightly rubbing the area.
Load the Drywall Knife.
Buttering is the practice of dipping the tip of a drywall or putty knife into the joint compound (mud). Your knife should ideally have a thin layer of compound along the flat front edge of one side of the blade. To avoid creating a mess, avoid overloading the knife.
If necessary, remove extra mud with a shop towel or paper towel, paying careful attention to the drywall knife's side edges. Remove any hanging dirt that might drop off or smear; it is not required to properly clean the back and sides of the knife.
Apply the first pass.
Press the front edge of the knife against the wall and draw it across the hole while holding it at an angle to the drywall with the mudded side towards the wall. As you draw the knife, the flexible blade should gently bend.
Make sure the joint compound is applied flatly to the hole. If you see any indentations, fill them right away with a subsequent knife pass. Don't stress about having the surface completely flat at this time.
Make a second stroke with the drywall knife across the hole right away, this time 90 degrees off of the first. This stroke is used to flatten the joint compound so that it is precisely level with the surface of the wall. To remove the extra muck, scrape it off using the edge of your knife. Avoid repeatedly cutting the joint compound with the knife as this may cause it to come out of the hole.
With small holes, this normally takes less than an hour. Let the joint compound dry fully. Furthermore, a single coat of joint compound is frequently sufficient to cover very small holes with a smooth finish.
Apply a second coat.
Any hole larger than a small nail hole will typically require a second layer of joint compound since it shrinks slightly as it dries. This is particularly true if the hole is somewhat large, as the joint compound frequently develops fractures as it dries.
Apply more joint compound to the knife and spread a thin second coat over the hole once the initial coating is completely dried. Any leftover depressions and pits are usually filled in by doing this. Give this second application at least an hour to completely dry.
Lightly sand (If Necessary).
Examine the patched area with your hand once the second layer has completely dried. If it seems rough, softly sand the area to make it flush with the surrounding drywall using fine sandpaper or a fine sanding sponge. Be careful not to sand too hard or you can harm the face paper.


