Everything You Need to Know About Concrete Floor Repair
Everything You Need to Know About Concrete For Leveling and Repair
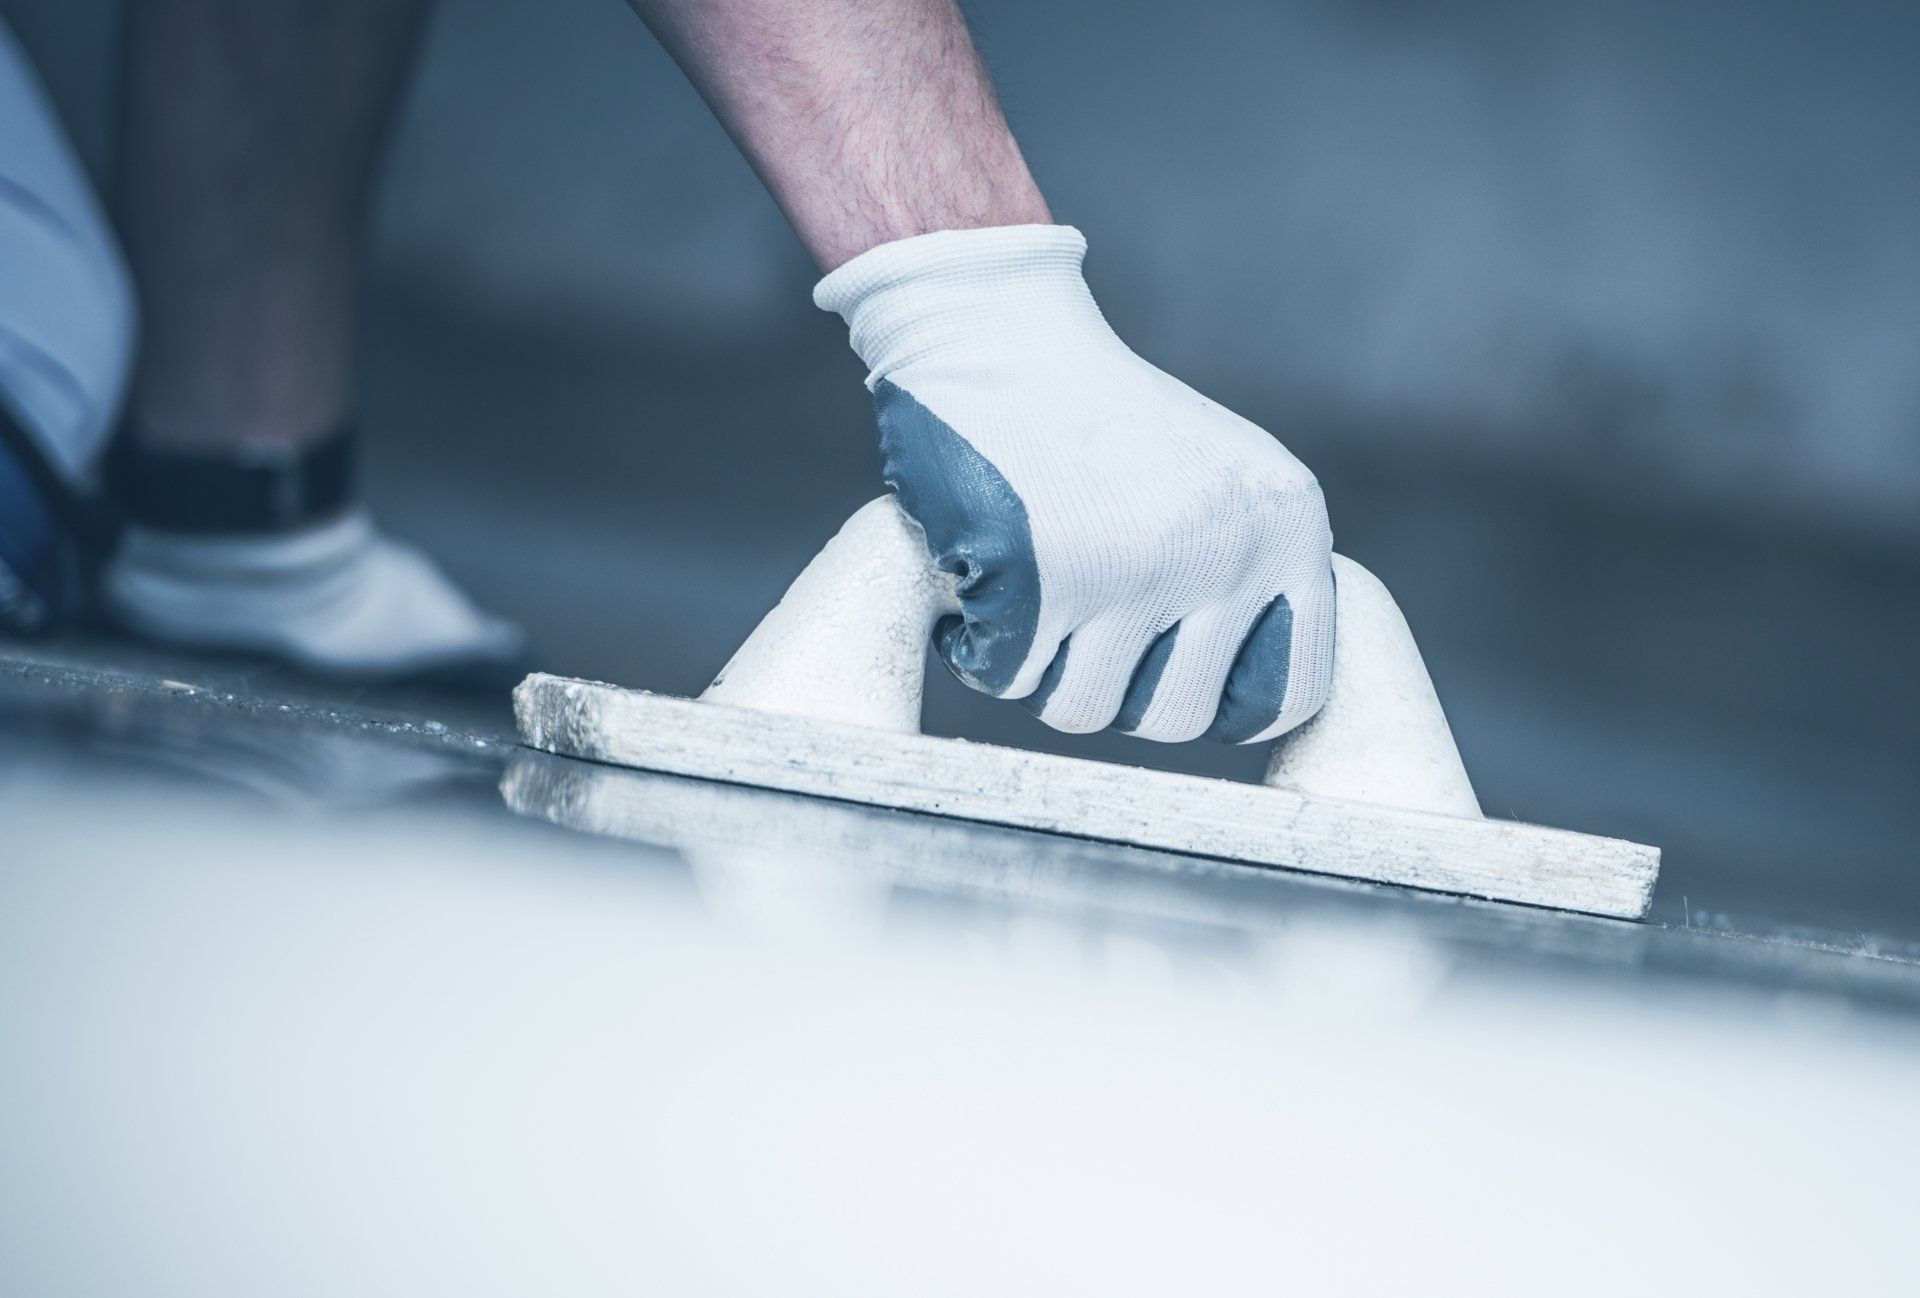
Prepping concrete for repair has just 3 parts:
Remove any bond breakers.
Quick tip! You can tell if something is a bond breaker by spraying it with water! If it absorbs into the substrate then you are good! If it sits on the surface it has to go!
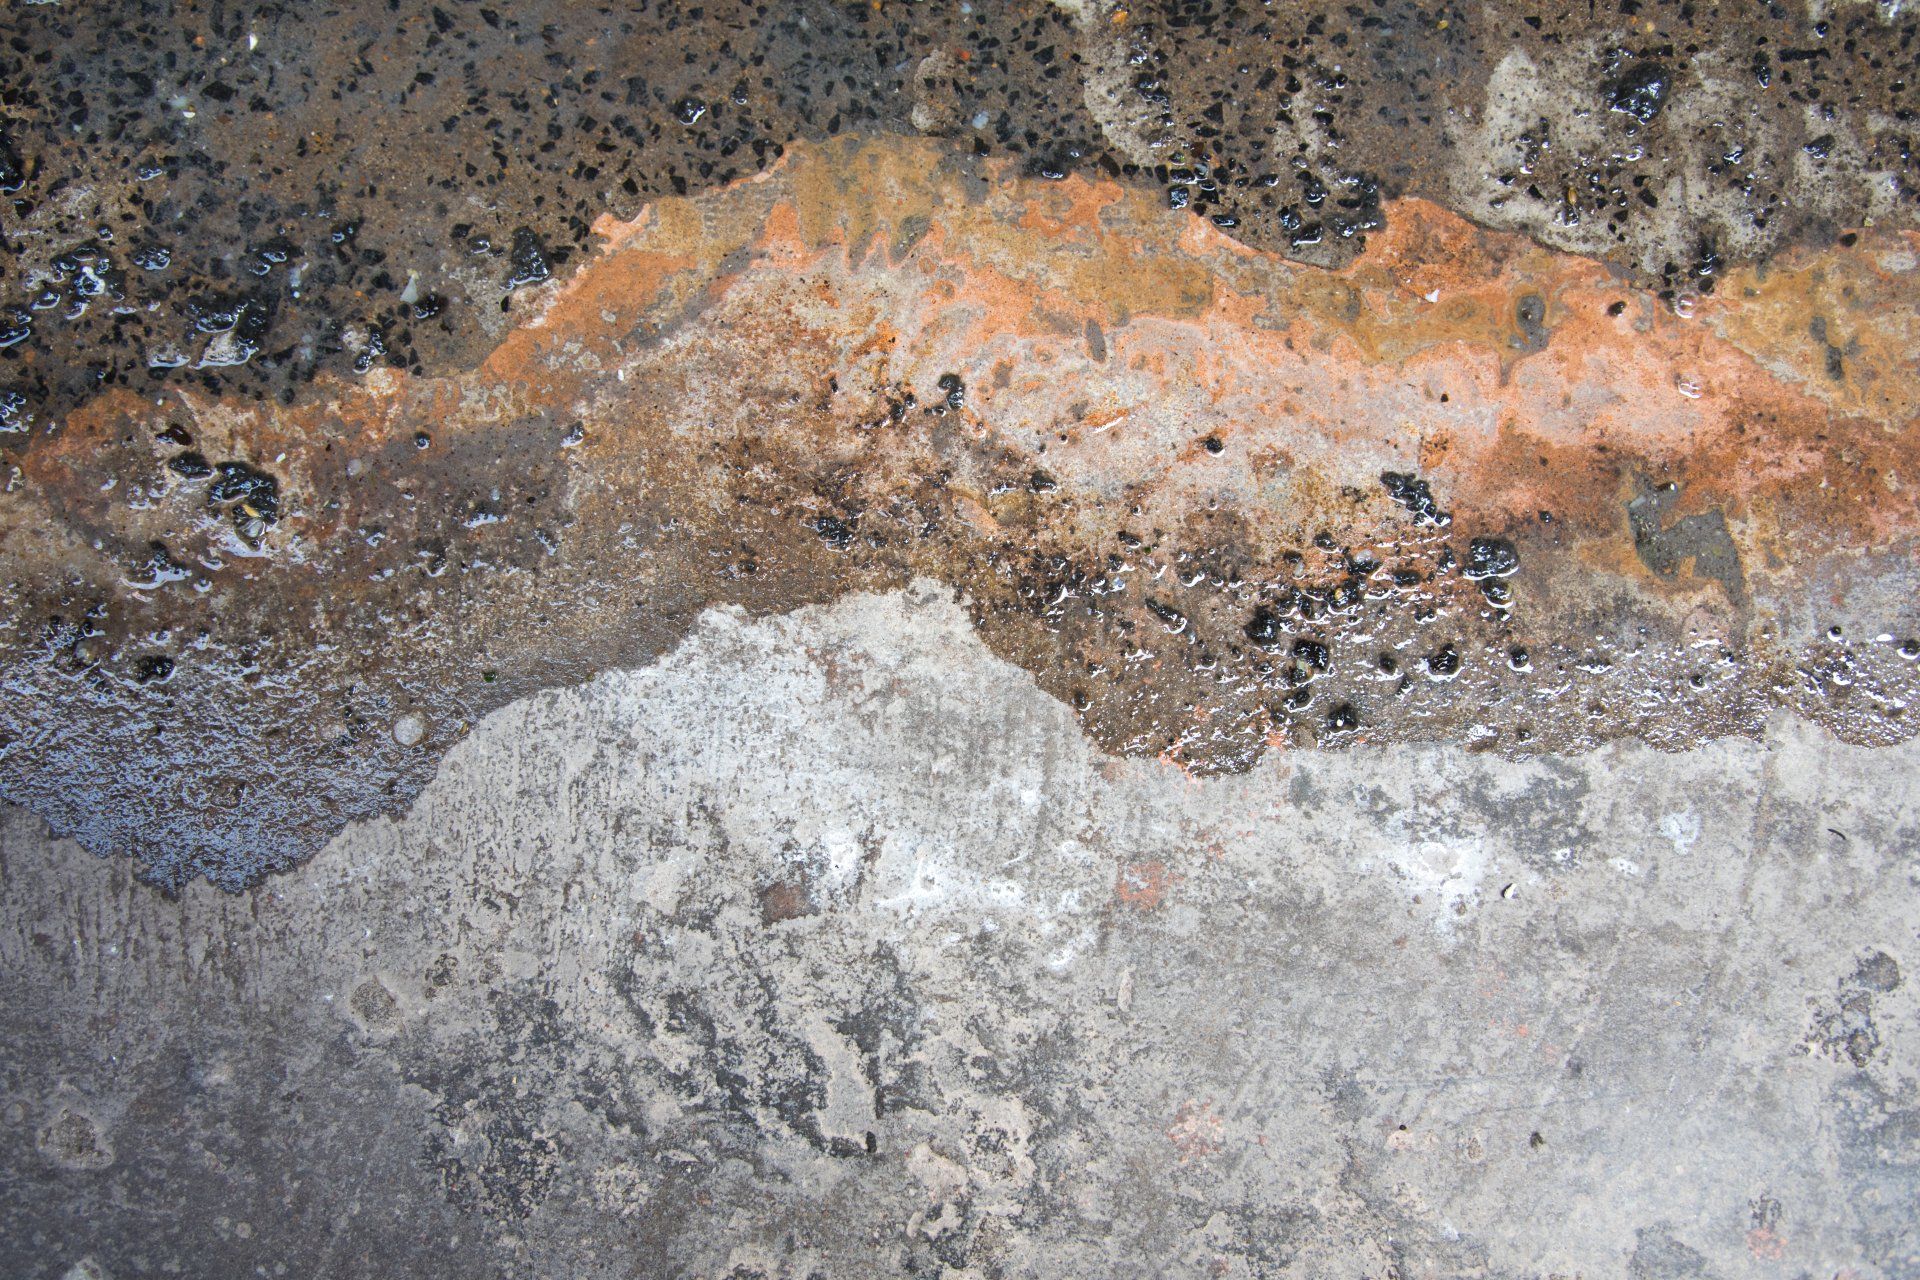
These are things like paint and adhesives. A bond breaker does exactly what it sounds like, it makes it so that the repair/leveling can’t bond with the old concrete. If you don’t have any bond breakers, skip to part 2! We were not so lucky. The Merc had 100 years worth of paint, carpet glue, and linoleum adhesive. We ended up grinding the entire floor down to bare concrete.
Remove any loose/lifted spots.
What happens if you don’t remove bond breakers? When repair jobs are done and not properly prepped, the new concrete can’t properly bond and it creates a whole world of trouble. We had large sections of patch jobs that had become detached that needed to be cleared out. You can tell where the concrete had failed by walking on it with heels, bouncing a golf ball, or snaking a chain over it and listening for a change in pitch. Pull out that bad stuff! It’s ultra satisfying and comes out very easily.
Sweep + Vacuum + Sweep + Vacuum.
This one is pretty self explanatory right? Get all of the dust and debris out of your life!
Once your prep work is done, it’s time to move on to the actual repairs!
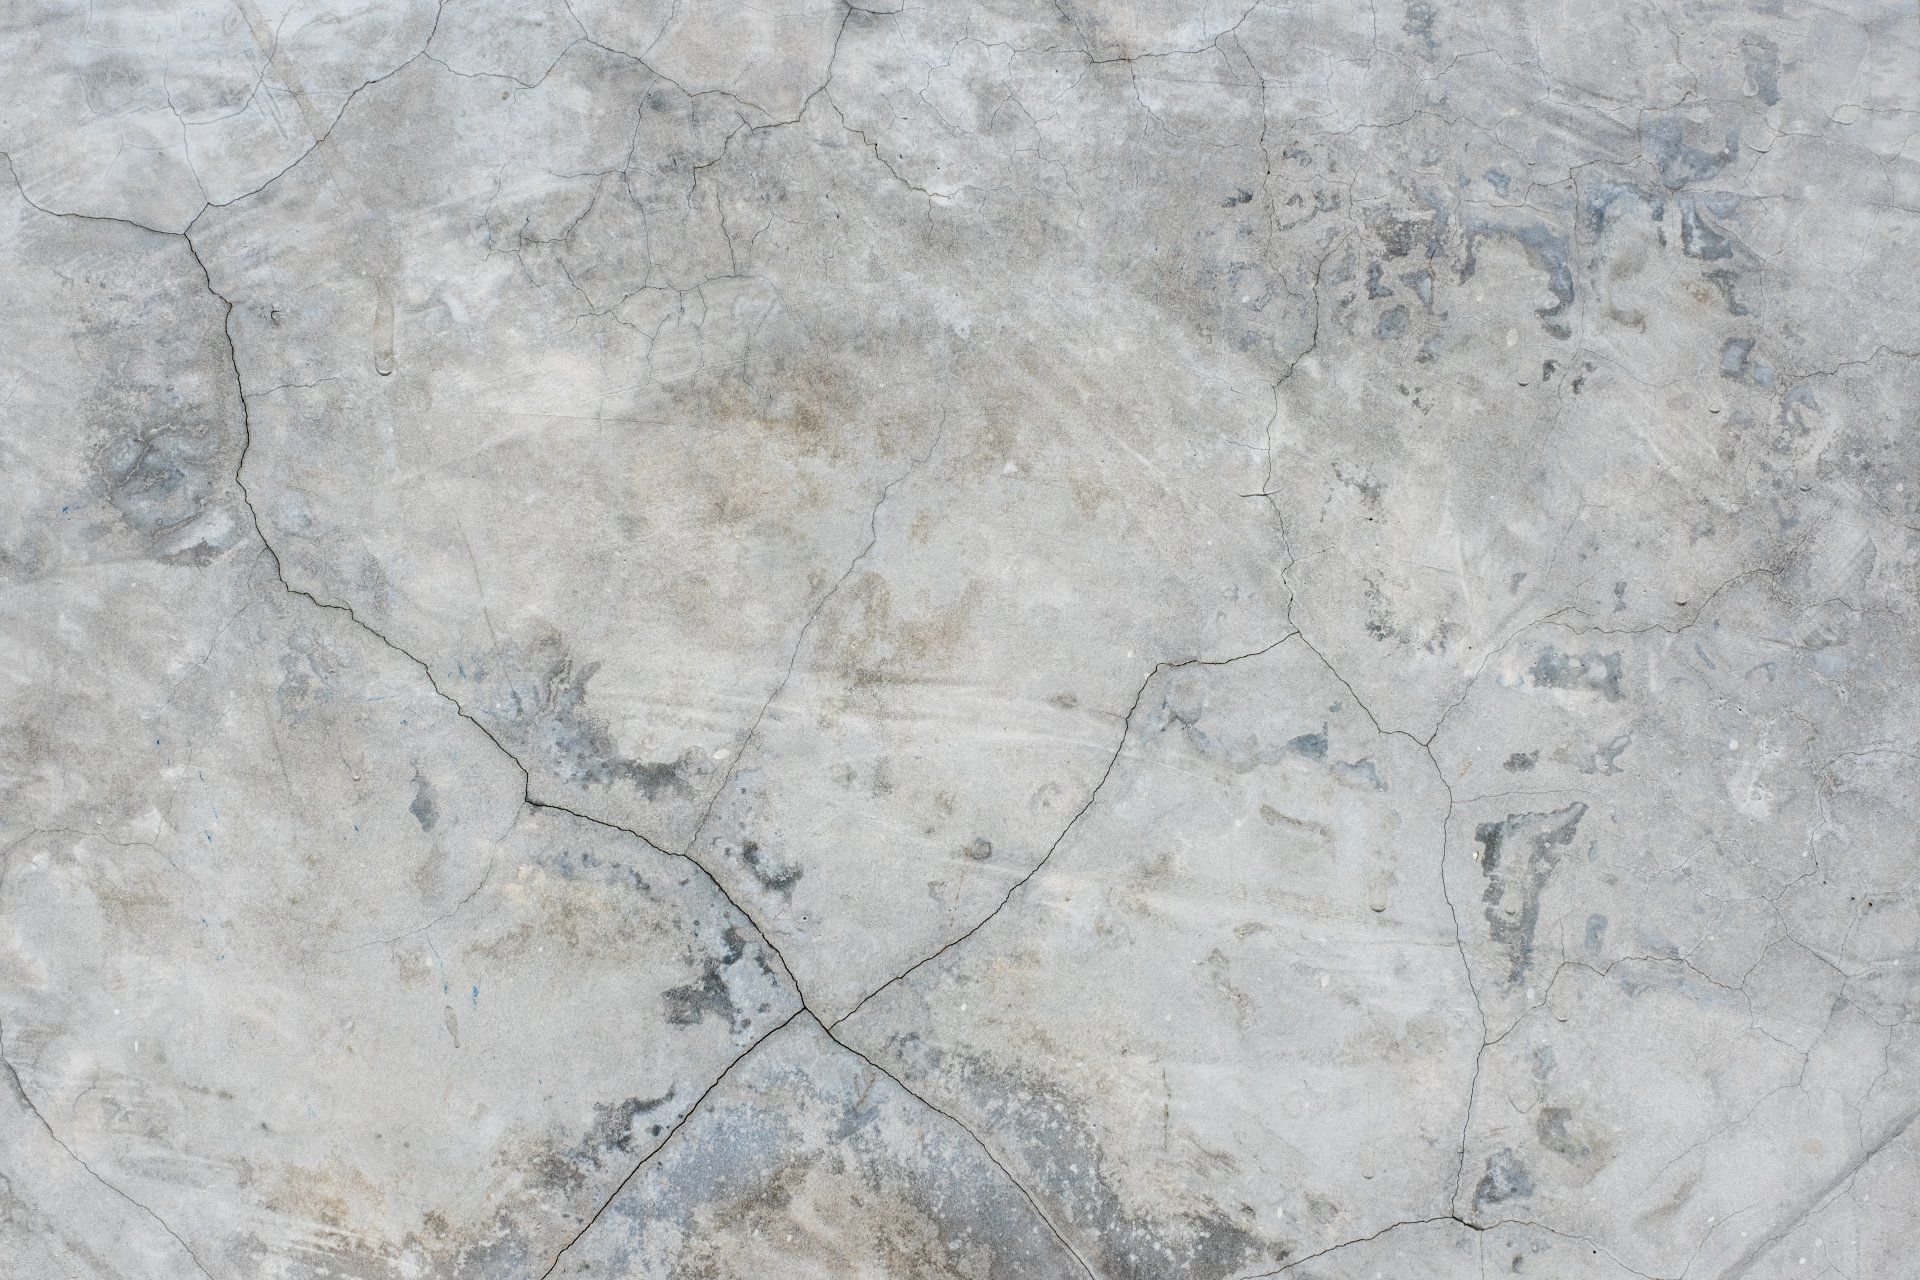
Repairing Concrete:
Have you ever had to make a concrete repair? Many of us, I believe, would respond with a resounding no. Isn't it true that we use the majority of our DIY skills on painting and building projects? Concrete work isn't something you see every day, and it might be scary. If you only hear one thing from this post, make it this. Concrete restoration is quite simple to grasp; there is essentially no learning curve, especially if you follow these basic procedures.
Rapid Set Cement All is the product we're utilizing. It's the best all-around mortar and can be used on nearly any job. It can be feathered to create a seamless transition and can be made up to 4 inches thick. It's ideal for patching, crack repair, and concrete projects (such as countertops or planters!) and costs under $20 per bag!
Step 1: Wet the substrate.
It's vital to moisten the old concrete before laying down fresh concrete for two reasons: if you don't, the old concrete will suck moisture from the new, causing it to dry too quickly. Second, there is Rapid Set. Cement All is made to chase water into aged concrete and form a solid bond. Keep an eye out for puddling, which indicates that there is too much water.
Step 2: Mix the Cement.
Cement All is simple to combine into a peanut butter-like consistency. To avoid dry clumps being caught in the corners, fill a 5 gallon bucket halfway with water and then add Cement All. Add more water or Cement All as needed to achieve the desired consistency.
Step 3: Lay it Down.
Fill the hole with Cement All and smooth it out with a flat trowel, starting from the inside and working outward.
Step 4: Feathering the edges.
The ability to feather Cement All to nearly nothing is one of its most amazing features. Allow enough time for it to set so that the entire mass does not shift, then carefully pull it out over the top of the old concrete with a sponge trowel. This is also a good time to smooth out any flaws in the surface and slightly roughen it up so that whatever goes on top of it has more grip.
Step 5: Water Curing.
Keep an eye on the Cement as it begins to brighten and cure. You want it to cure over time rather than immediately. If it starts to become white within the first 30-45 minutes, lightly spritz it with water. You might have to repeat this process a few times! When you hold your hand just above the surface and feel warmth radiating from it, you know it's started to cure!
Find Us Here!
Tanguay Homes, Inc.
419 Route 105 Suite A,
Newport, Vermont 05855
Mailing Address:
P.O. Box 517
Newport, VT 05855
Follow Us!
Tanguay Homes of Newport, Vermont specializes in working with out-of-the-area clients. You may sign up to receive daily progress photos, e-mails, and calls. Weekend and late evening appointments are available for your convenience.
Tony Tanguay
President
Contact Us!
We will get back to you as soon as possible
Please try again later


