


Plan your home remodeling project with confidence using these practical tips for creating your dream space without the stress.

Get your home ready for spring with late-winter exterior projects like roof checks, walkway maintenance, and curb appeal upgrades.
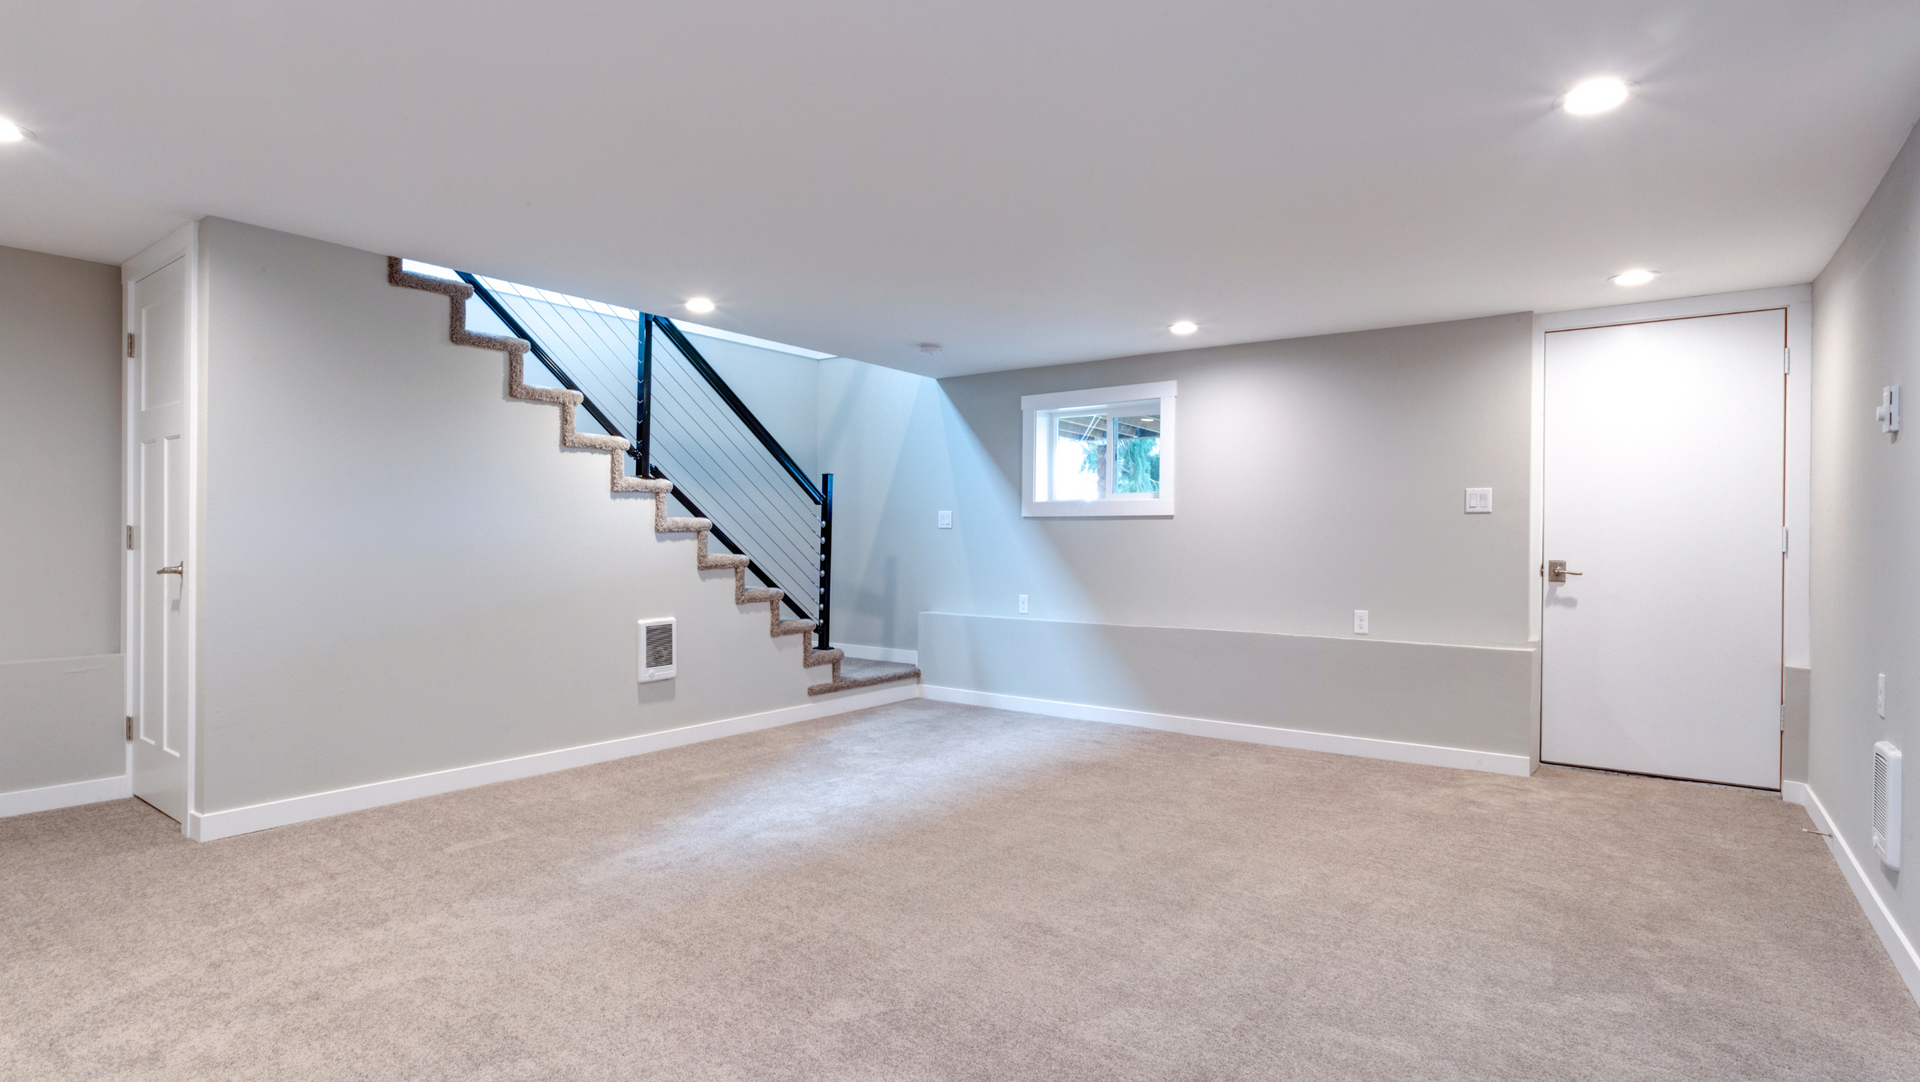
Transform your basement this winter with practical tips for creating a comfortable, functional, and stylish space that adds value to your home.

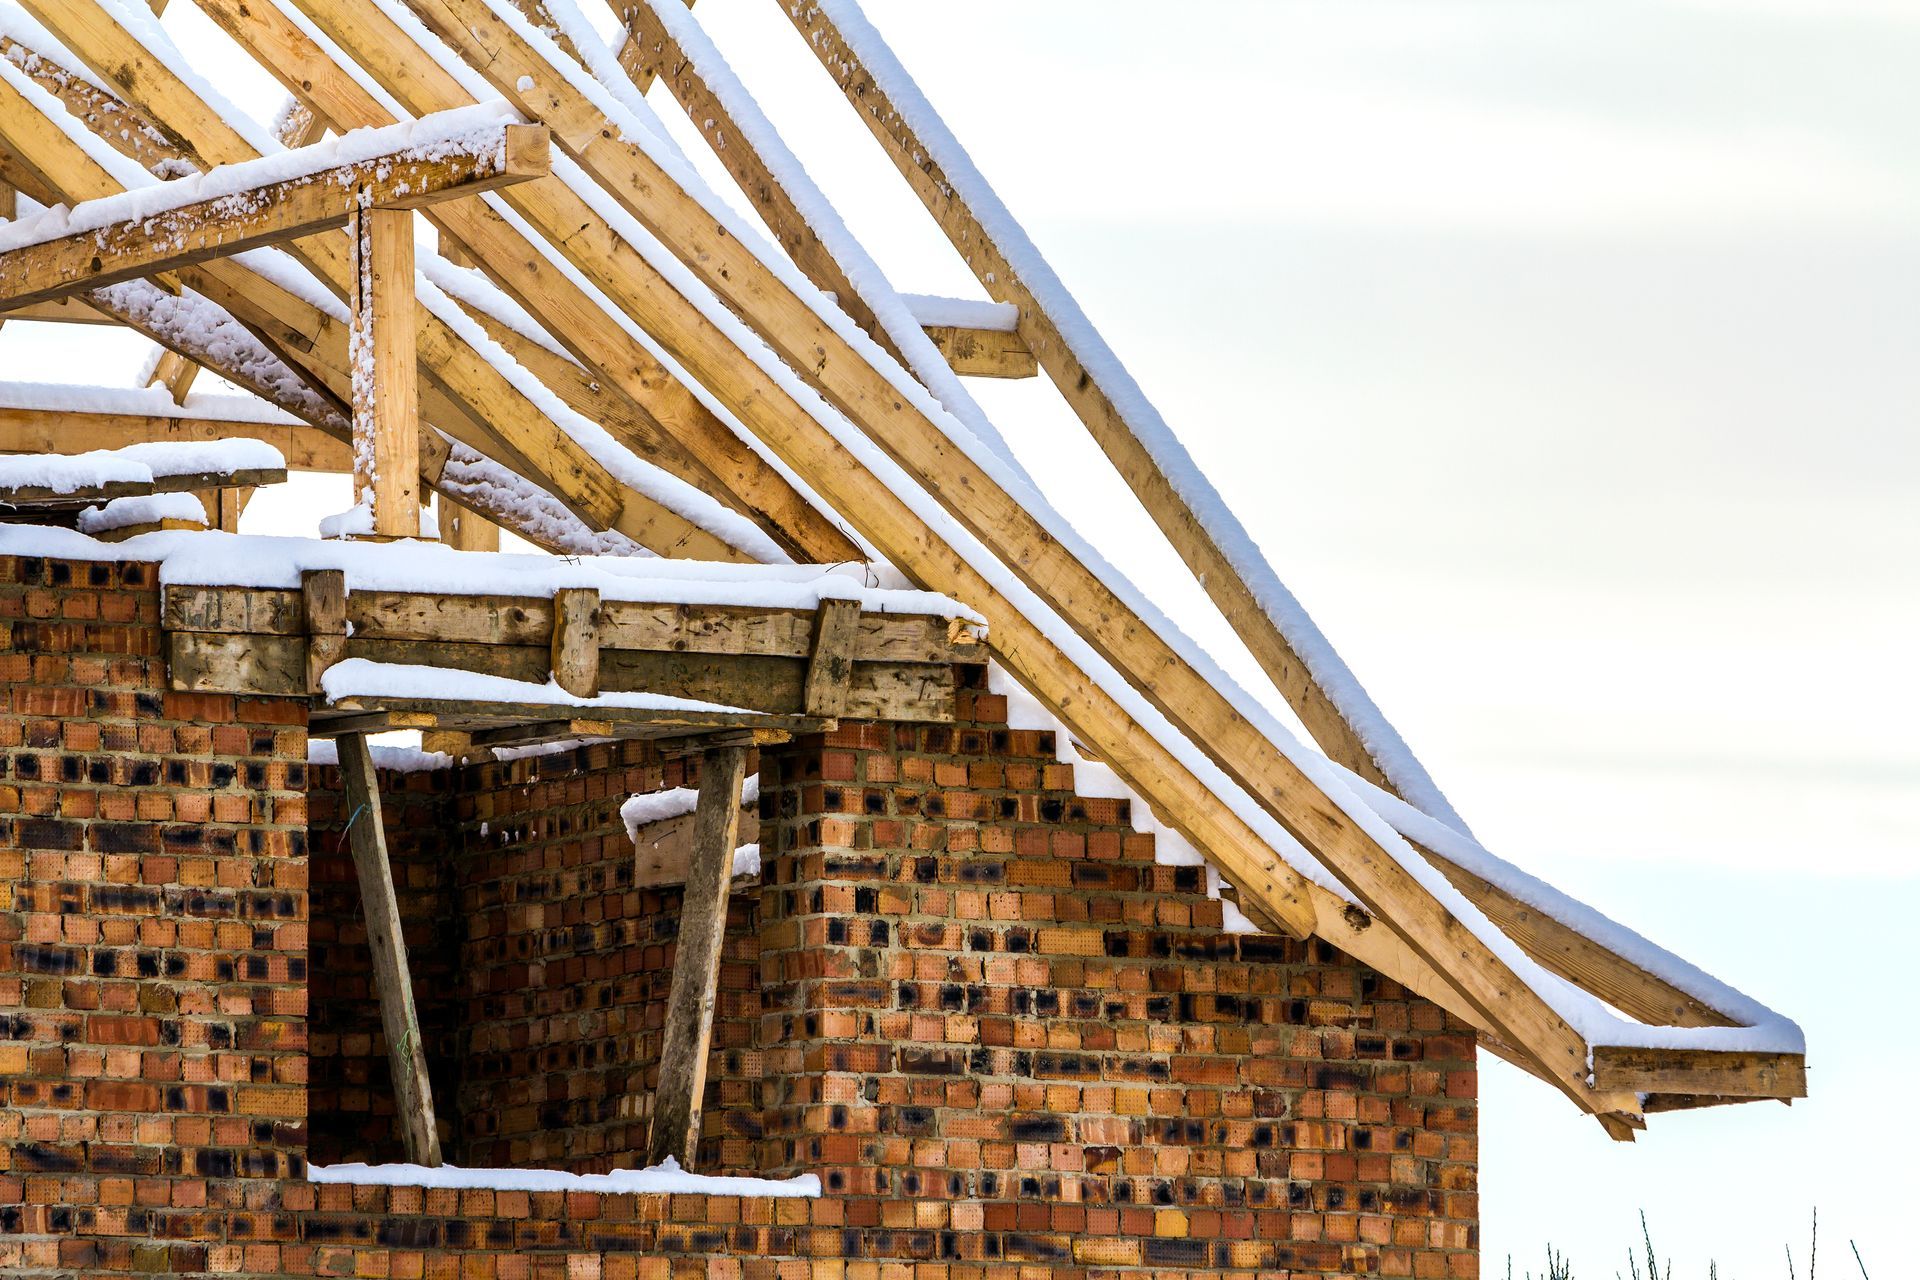
Learn how to protect your roof and gutters from snow and ice damage with these essential tips for winter maintenance and prevention.

5 impactful home improvement resolutions to enhance your space, boost energy efficiency, and add value in 2025.
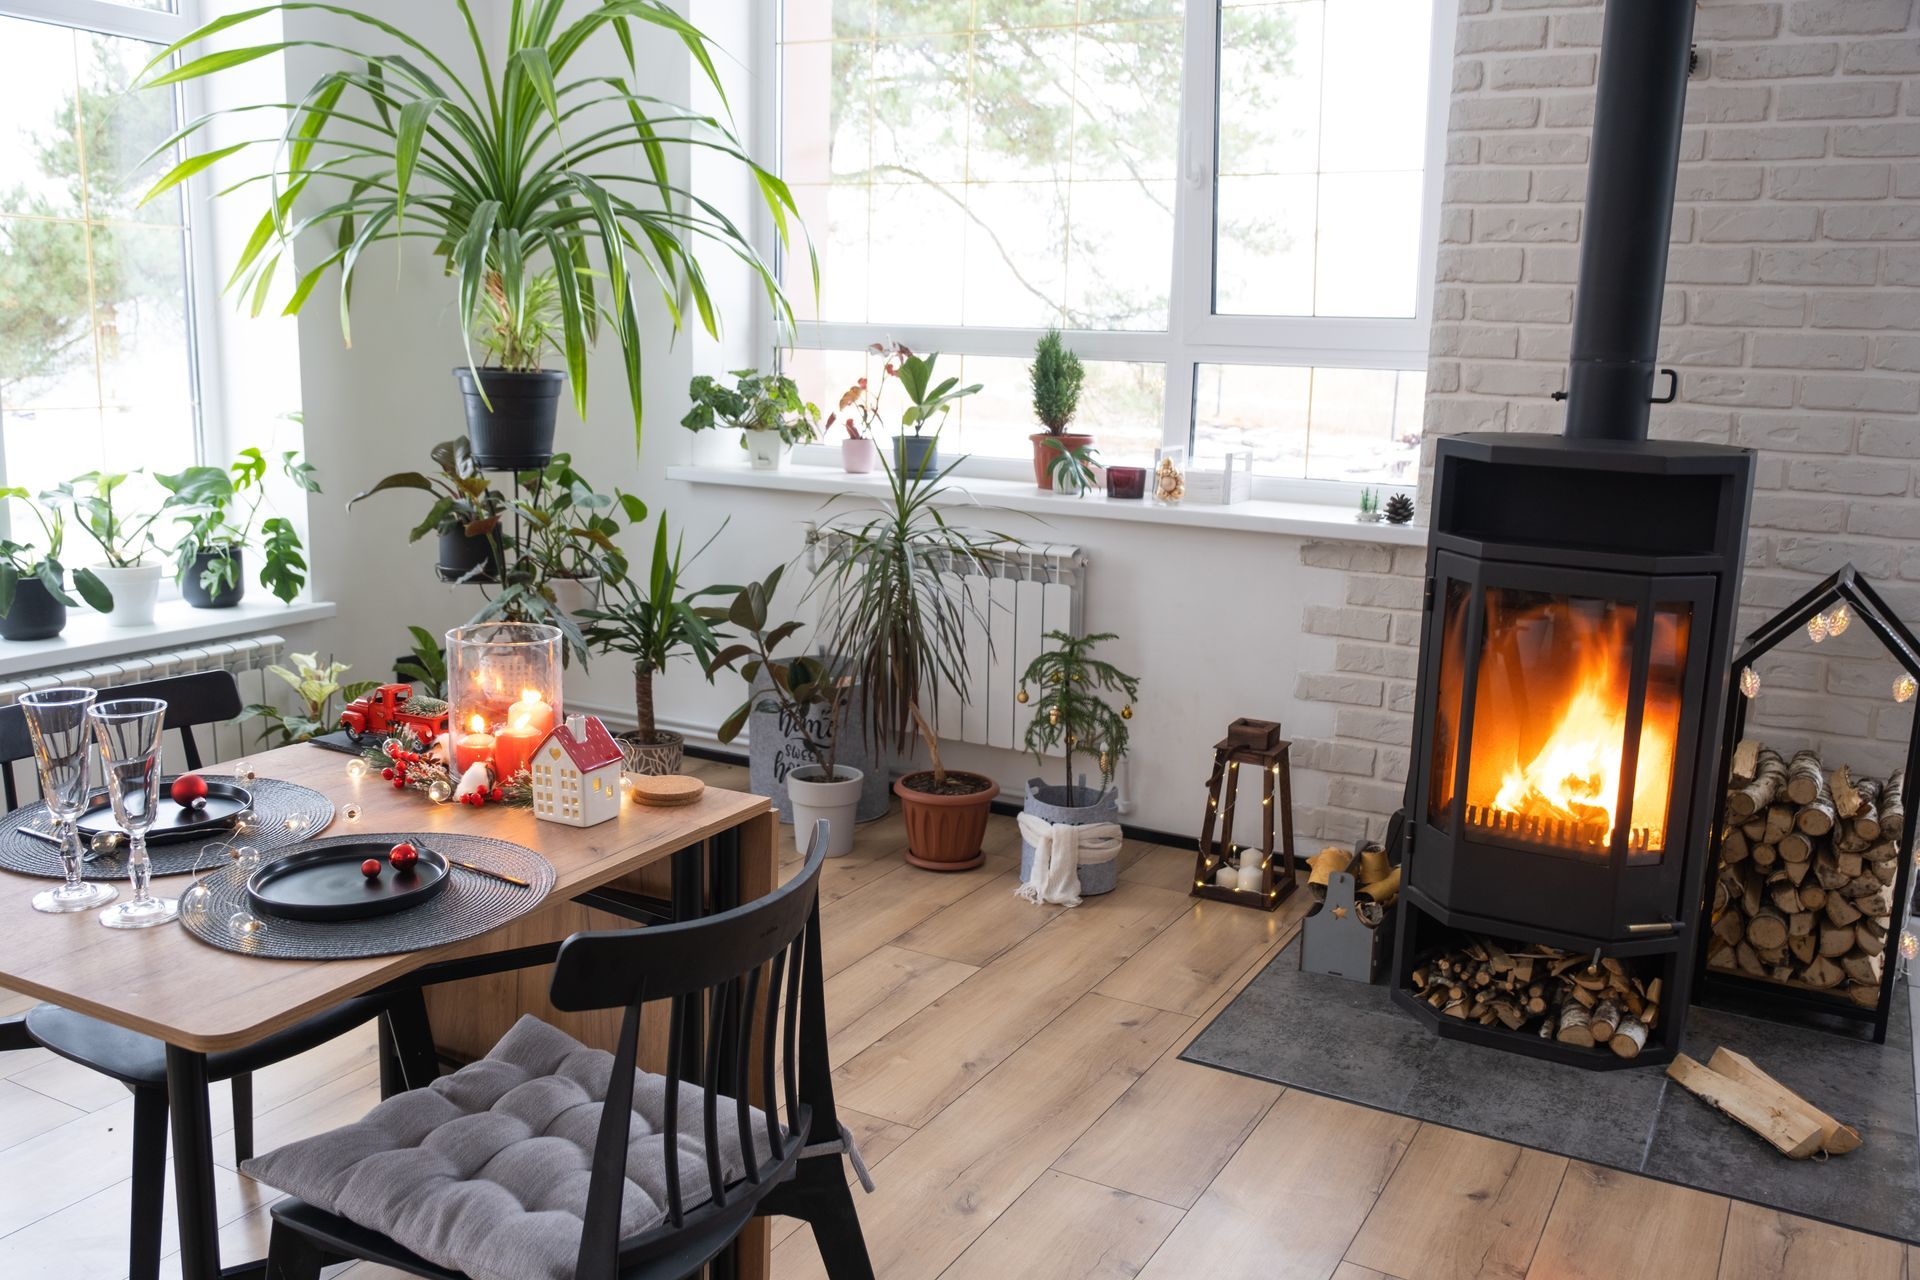
Transform your home into a cozy winter retreat with renovation ideas that add warmth, comfort, and energy efficiency, from enhanced insulation to stylish fireplaces.
Discover the pros and cons of starting a home renovation in winter, from contractor availability to potential weather delays, to help you decide if the season is right for your project.

Discover the top 5 home renovation projects to boost energy efficiency this winter, reduce heating costs, and enhance comfort in your home.
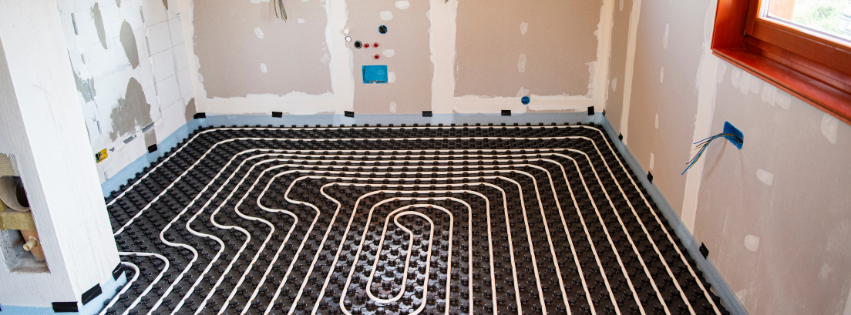
Upgrade your home's comfort and energy efficiency this winter with heated floors, a luxurious and cozy solution.
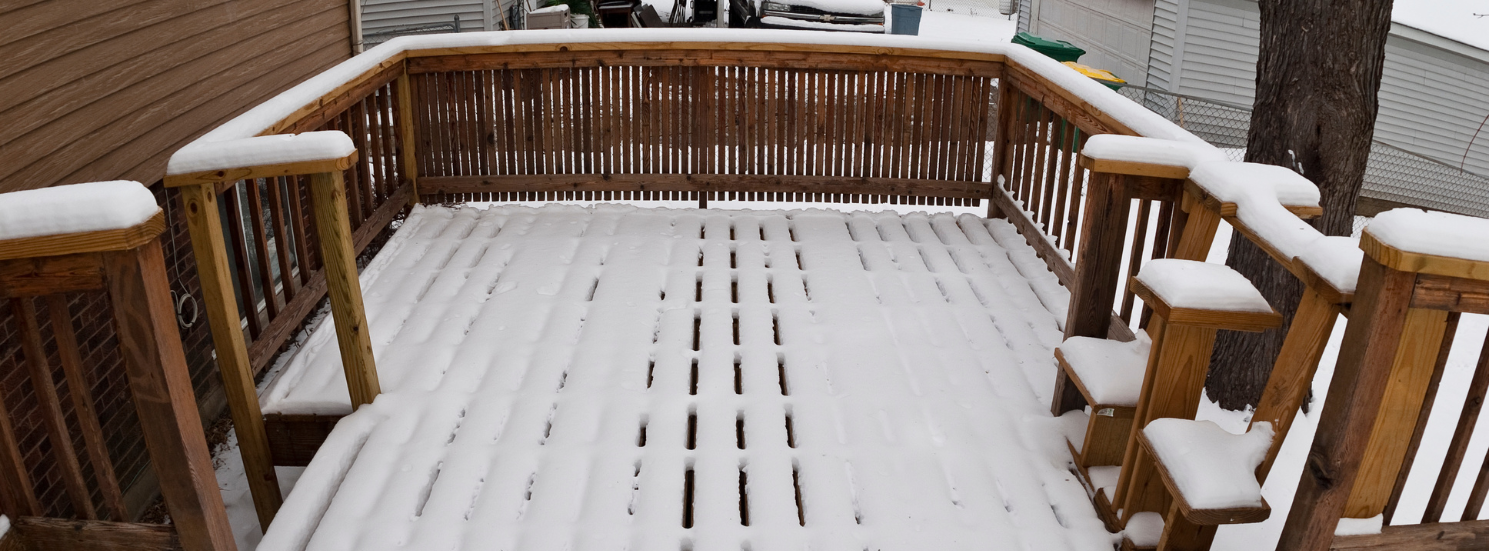
Discover essential tips for preparing your deck or patio for winter, including cleaning, repairing, sealing, and protecting to ensure they stay in top condition through the cold months.